
In previous article we learned about how to clone a existing Git repository to a local system. Today we would learn how can you Initialize a Git Repository in your local system first and then publish it to the centralized Git repository.
Lets start ..
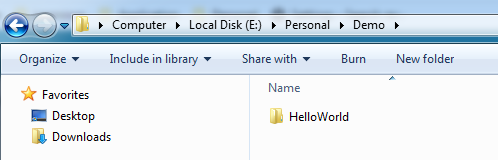
Step 1: Create a folder in your local system directory.
Step 2: Open Visual Studio Code.
Step 3: Click on ![]() (Explorer ) Icon displayed on the left side bar of Visual Studio Code and Click on Open Folder button
(Explorer ) Icon displayed on the left side bar of Visual Studio Code and Click on Open Folder button
OR
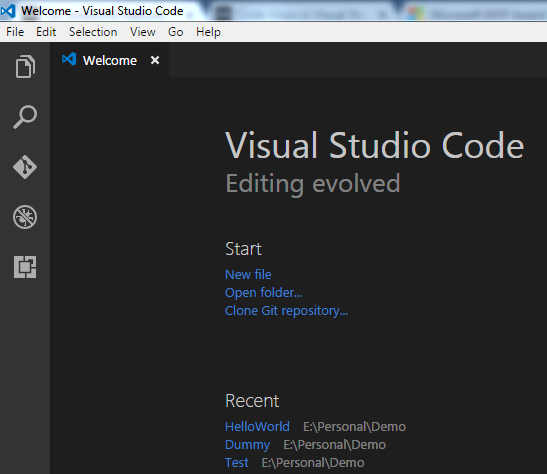
Click Open folder link, existing on the Welcome Page under Start section (Shown below)
OR
Go to File > Menu > Open folder
OR
Use Ctrl + K, Ctrl + O
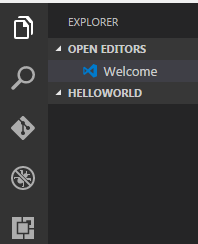
Step 4: Select the folder created above which would start displaying in Explorer windows as shown below.
Step 5: Click on the ![]() (Git) icon displayed on the left side bar in Visual Studio Code. This would show a button “Initialize Git Repository”
(Git) icon displayed on the left side bar in Visual Studio Code. This would show a button “Initialize Git Repository”
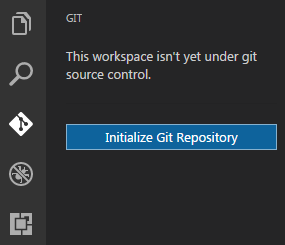
Step 6: Click on “Initialize Git Repository” button. This will create a local .git folder in the local folder. This .git folder is the folder which does the magic and keep each and every detail about local branches, remote branches, local check-ins, log history and every other information which is required from version control perspective.
Once the repository is initialized the complete folder where the Git has been initialized would start to be tracked. Now git would start tracking this folder (HelloWorld) and shows the changes made with in this folder.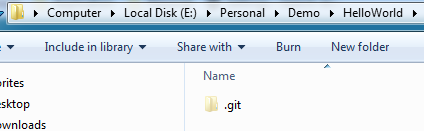
Step 7: Let’s add a new file to “HelloWorld” folder. As soon as any file is added or modified, it would start showing on the Git Icon on the left side bar as a number. If one file is added and one file is modified then total 2 would be displayed on Git icon as shown below where only one new file has been added and Git icon shows one.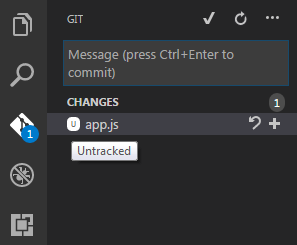
The file added above is shown as “U” means Untracked. This is because this file is still not tracked by Git. This is because the file is not checked-in into the local repository.
Step 8: Click on the “+” on the right side of the file and Staged it. Provide some comment in the message box and click on ![]() (Right) icon on the top, to commit the file in the local repository. Here just note that the file would be checked-in in the default master branch.
(Right) icon on the top, to commit the file in the local repository. Here just note that the file would be checked-in in the default master branch.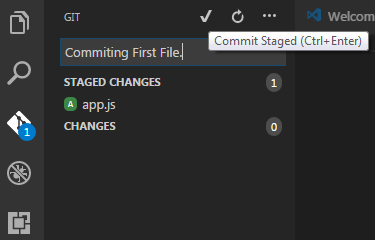
Now we are done with the changes and want to push the changes on the Git Server but you can see all the options available in git menu are disabled.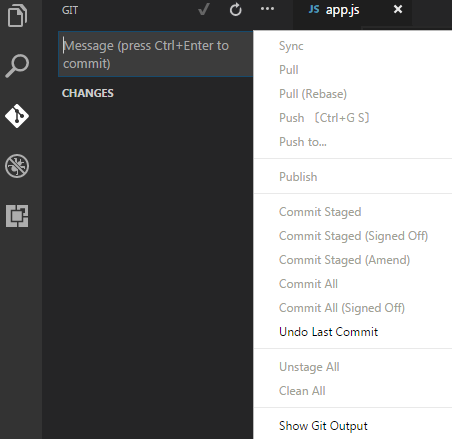
Also on the left bottom, Status Bar does not show ![]() (Publish) icon which publish a branch to the remote server.
(Publish) icon which publish a branch to the remote server.

This is because Visual Studio Code does not know where the files need to be pushed or in the other words the destination is still not defined. or technically it can be said that Git Remote is not defined.
Step 9: Let define a git a remote with the url of Visual Studio Team Services (VSTS). Here I would like to mention that I have a account on Visual Studio Team Services and this is free to use up to 5 users. So if you have a small team of 5 members, you should give it a try.
As I do not have any predefined repository on VSTS so first we need to create Repository in VSTS. As the scope of this article is to use an existing Git Repository so I am assuming the HelloWorld repository is already created in VSTS. Creation of repository in VSTS is very easy and after login to the VSTS, you need to create a project which internally create the Git repository. You have choices to choose either Git ot TFVC.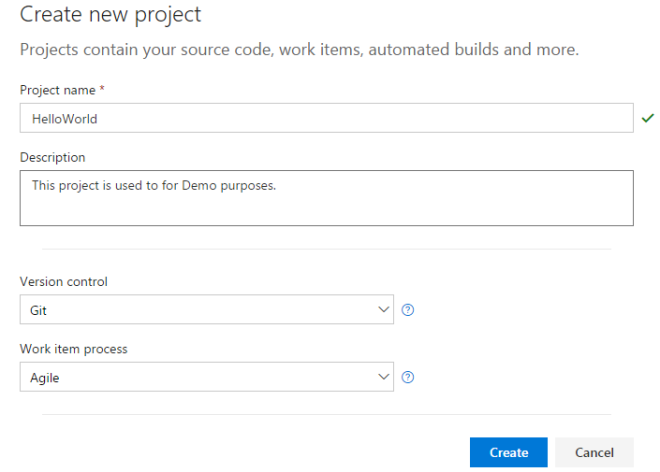
Default remote which Git refers by default is “Origin”. I would be defining a local remote using “Origin” only with “HelloWorld” repository created on Git Server. After defining a local remote Visual Studio is aware about that to which repository the code has to be published and what would be the repository name.
The command for defining a git remote is git remote add <remote name> <repository url>
Open Terminal and Run the above command.
Once the remote is defined, publish icon would be displayed in Status Bar.
Step 10: Now once the remote is defined, you can push your files to the remote server. The command to push the added/modified files to the server is
git push -u origin –all
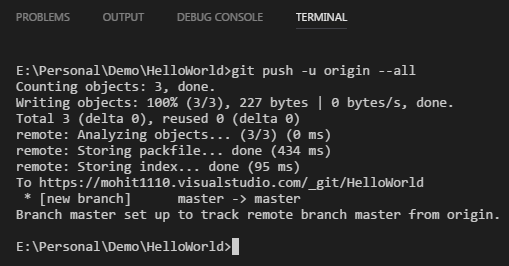
If all goes well, you would get the messages shown above which push all the objects to the specified repository and the ![]() (Sync) icon would be displayed in Status Bar.
(Sync) icon would be displayed in Status Bar.

Now whenever you have any local commit to Push or any commit to Pull, it would show up in the status bar itself as shown below.

Here it shows that 1 commit is required to be Pulled from server and 1 commit is required to be Pushed to the server. After clicking on Sync icon the local branch and server branch would be Synced and both the code base will be same.
That’s it…
I hope this article would help you to setup Git for the first time where you have files in the local system and the same need to be published to the Git server for the first time.
Happy Coding!!!
